Rpi OS Installation
So got my Raspberry Pie Zeros. Now they need an OS.
The last time I made the initial install onto a Raspberry pi I used Rasbian, a lot have changed since then and now there is a official Raspberry Pi OS. It’s now very easy getting your SD card ready to boot with the Raspberry Pi Imager. It is available as a .exe (Windows), .dpkg (debian), .dmg (macOS) or directly with apt with the command:
sudo apt install rpi-imager
If you get any problems with missing dependencies as I did you need to run the following to fix it:
sudo apt --fix-broken install
Which will install all missing dependencies and rpi-imager again.
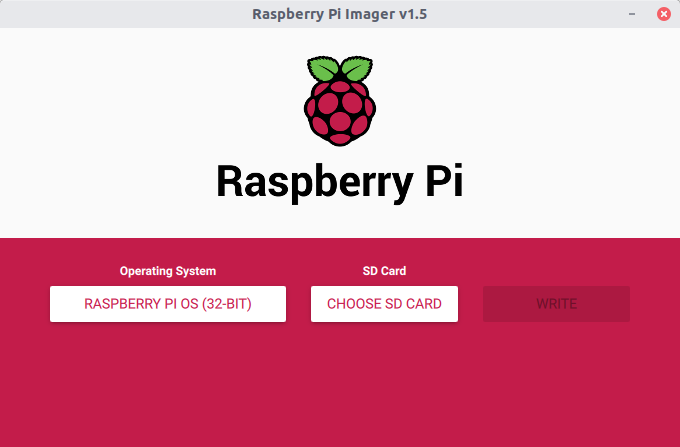
Start the rpi-imager software and select OS, SD-card and press the Write button (sudo privileges required).
When we are running the boards headless (without monitor connected) some settings needs to be attended. The first one is that SSH is by default off and we need to setup wifi credentials (because there are no ethernet ports on a Zero).
To enable features normally changed in raspi-config some can be configured with the files in the boot partition. To enable SSH simply create a file named SSH with no content to it and it will enable SSH on boot and delete the file.
To connect to a wifi network you will have to create a wpa_supplicant.conf file in the boot partition. It’s content could include a couple of section depending on your wirless network setup. The following is a base template that should work for one basic connection:
ctrl_interface=DIR=/var/run/wpa_supplicant GROUP=netdev
update_config=1
country=<Insert 2 letter ISO 3166-1 country code here>

network={
 ssid="<Name of your wireless LAN>"
 psk="<Password for your wireless LAN>"
}
Need further information about how to configure Raspberry Pi OS? Visit the documentation on github.